A proper at-home car wash does more than make a vehicle look good, it helps protect the paint, trim, and glass from premature wear. Done the wrong way, though, washing can leave swirl marks, water spots, and scratched clear coat behind. In this guide, we’ll walk through how to wash a car step by step using safe, simple methods that work for most vehicles. We’ll cover the tools to gather, the order to follow, and the mistakes to avoid so we can clean the car thoroughly without causing damage. If we want better results than a quick driveway rinse, this process is the one to use.
Gather The Right Car Wash Supplies Before You Start
Using the right supplies matters because the wrong tools are often what damage paint, not the water itself. Before we start, we should set up everything within reach so we’re not dragging dirty towels across the car or improvising halfway through.
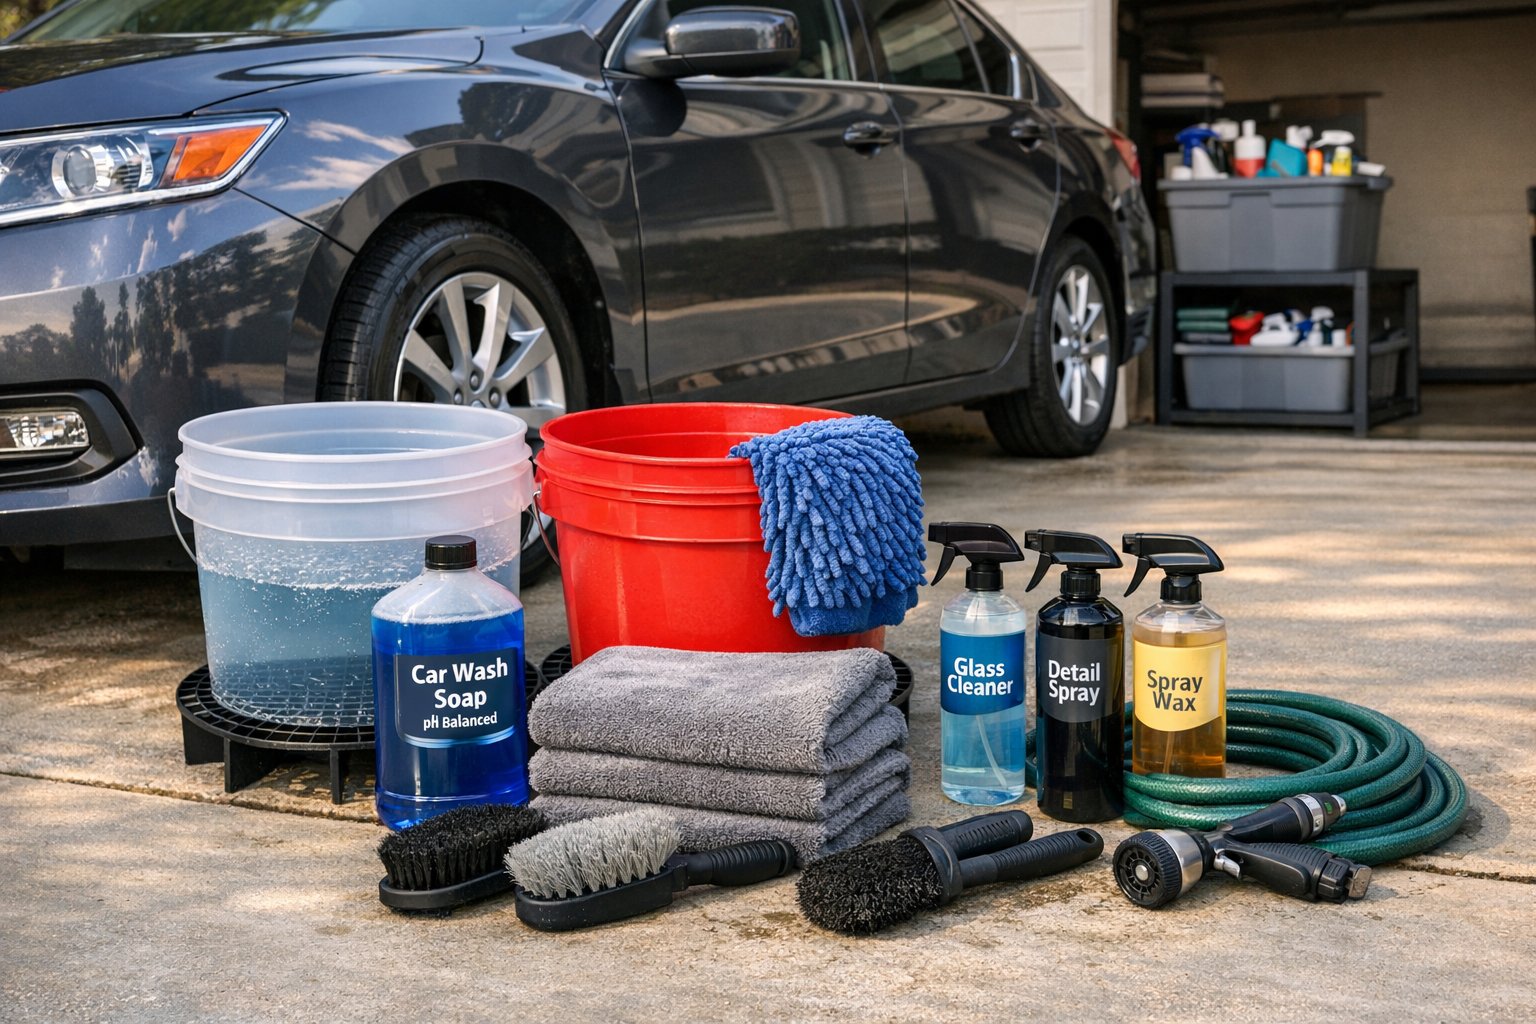
A basic car wash kit should include:
- Two buckets with grit guards if possible
- pH-balanced car wash soap
- Microfiber wash mitt
- Wheel brush and tire brush
- Drying towels made from microfiber or a car dryer/blower
- Glass cleaner safe for automotive use
- Detail spray, spray wax, or sealant for protection
- Hose with a gentle spray nozzle
Avoid household dish soap, old bath towels, and sponges. Dish soap can strip protection, and rough fabrics can create fine scratches.
If we wash regularly, it helps to keep a dedicated bin of supplies. That simple habit makes the process faster and more consistent every time.
Park In The Right Spot And Pre-Rinse The Vehicle
Where we wash the car affects the outcome more than most people expect. The ideal spot is shaded, cool, and out of direct sun. Hot panels cause soap and water to dry too quickly, which leads to streaks and stubborn water spots.
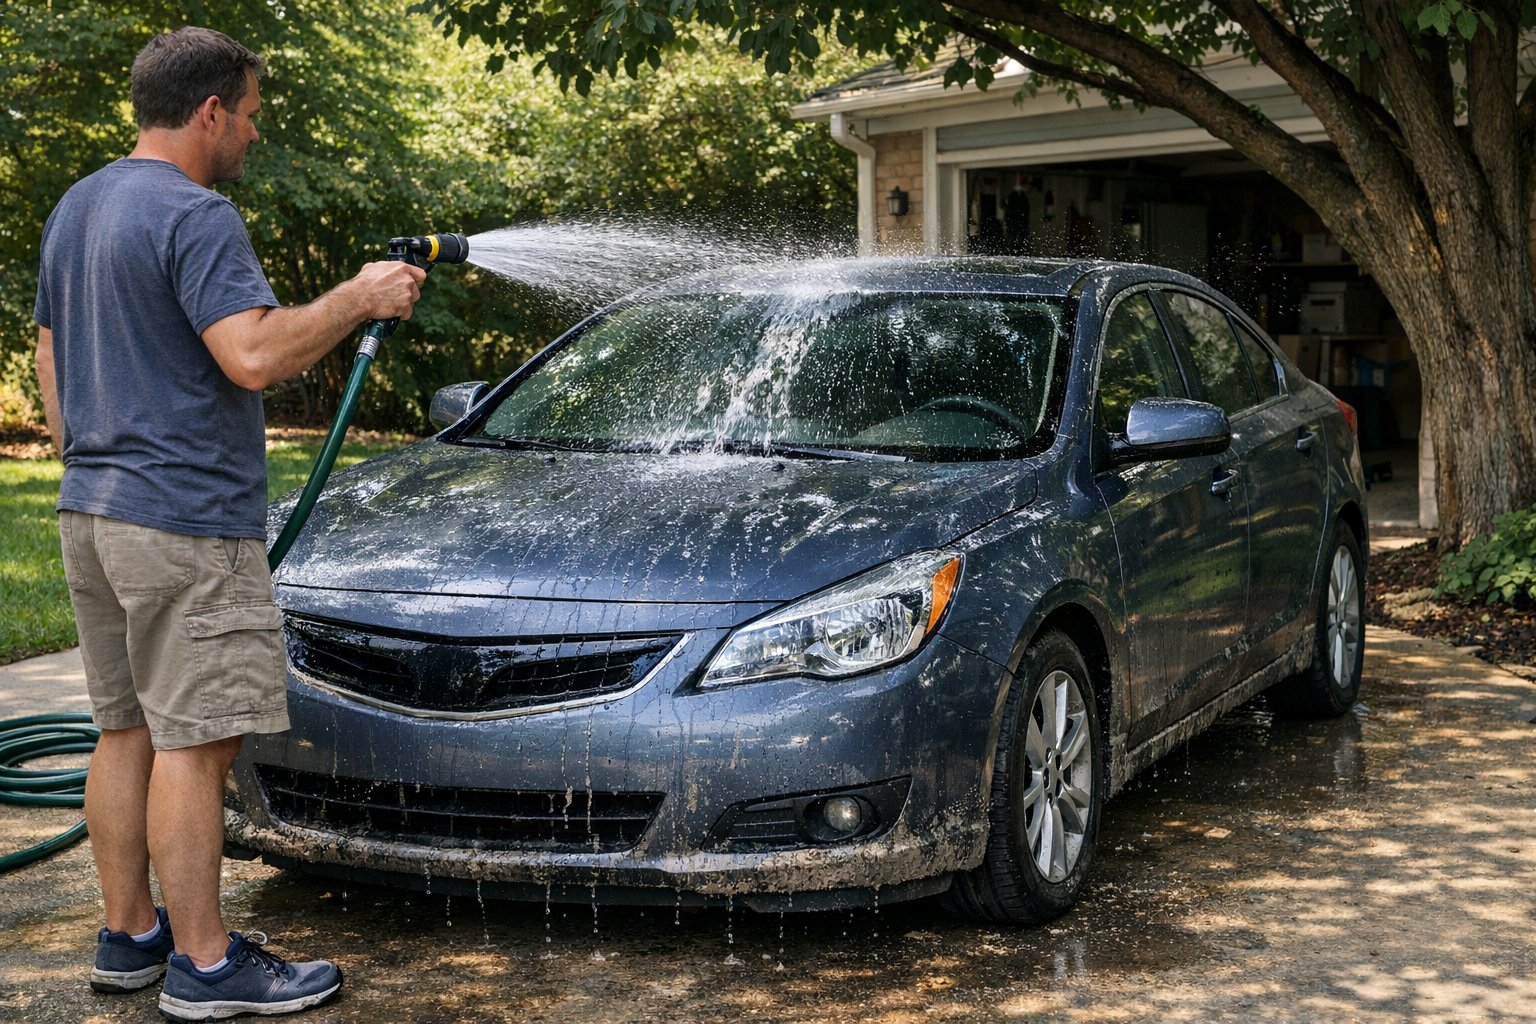
Before touching the paint, we should do a full pre-rinse from top to bottom. This loosens dirt, pollen, and grit so we’re less likely to grind contaminants into the finish during contact washing.
A smart pre-rinse process looks like this:
- Rinse the roof and glass first
- Work downward over doors, hood, and trunk
- Hit lower panels thoroughly, since they hold the most grime
- Give extra attention to the front bumper and rear end
If the car is heavily soiled, let water run over problem areas for a little longer. The goal is simple: remove as much loose debris as possible before the wash mitt ever touches the paint.
Clean The Wheels, Tires, And Wheel Wells First
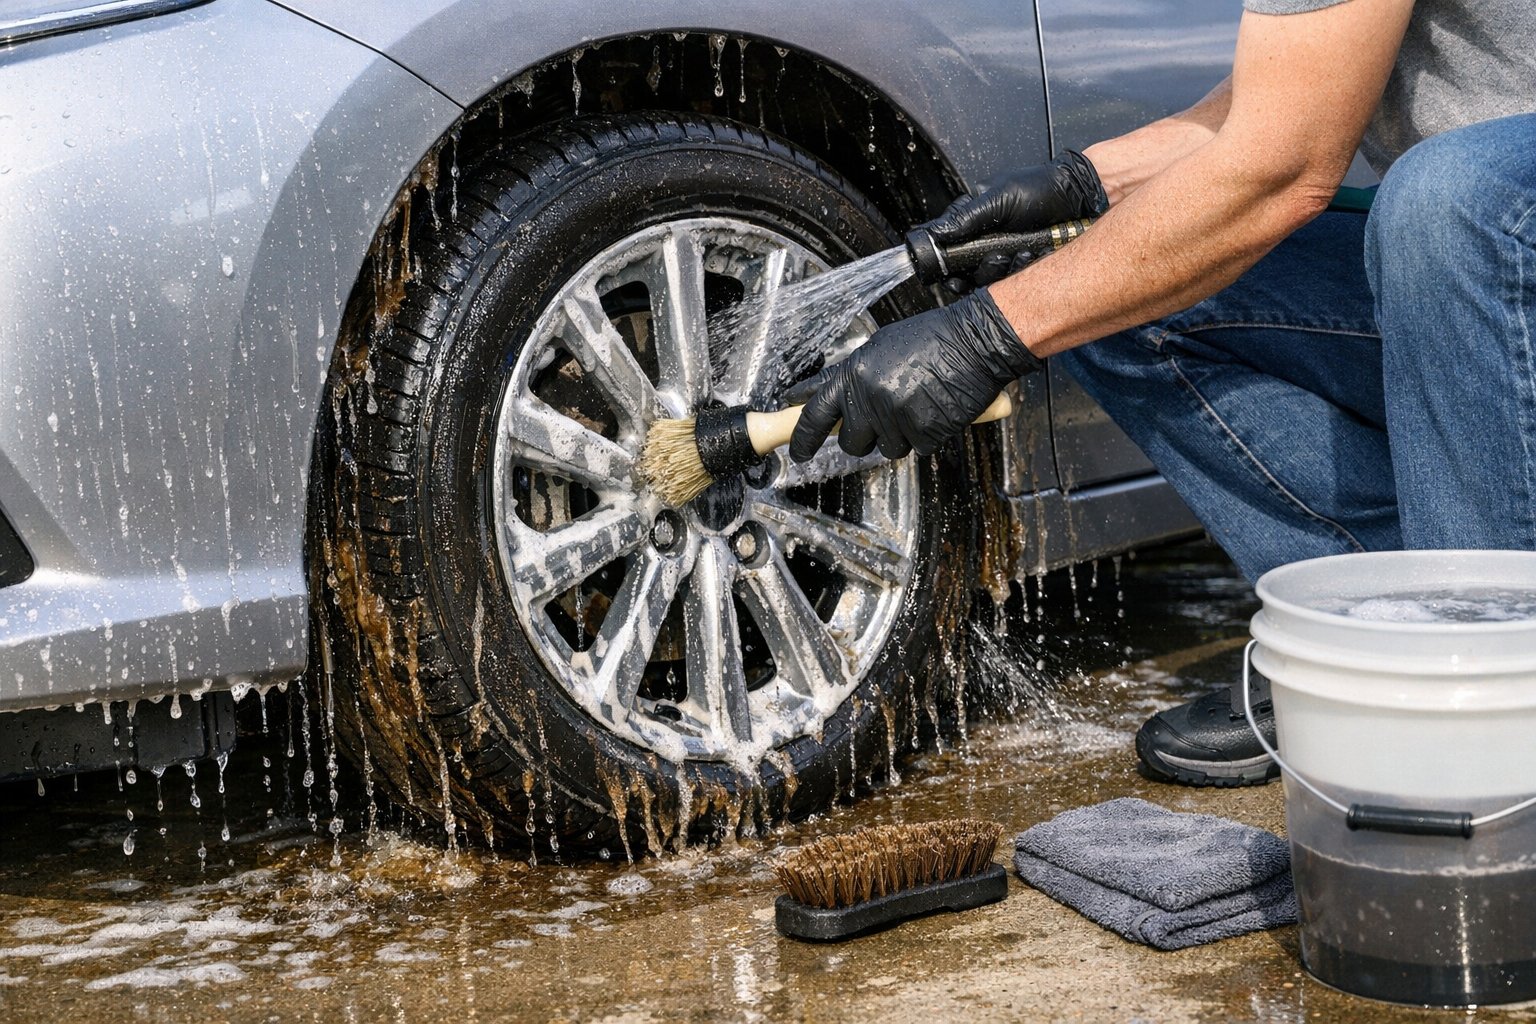
Wheels are usually the dirtiest part of the vehicle. They collect brake dust, road tar, mud, and gritty buildup that we never want transferring onto the paint. That’s why we clean them first, using separate tools.
Start by rinsing each wheel and wheel well thoroughly. Then apply a wheel-safe cleaner if needed. Use one brush for the wheel face and barrel, and another sturdier brush for tires and wheel wells.
A few best practices help here:
- Work one wheel at a time so product doesn’t dry
- Use dedicated brushes and towels only for wheel areas
- Scrub tires well to remove old dressing and brown residue
- Rinse completely before moving to the next wheel
If we reuse wheel tools on paint, we risk scratching the finish with embedded metal particles and grit. Keeping these tools separate is one of the easiest ways to avoid accidental damage during a car wash.
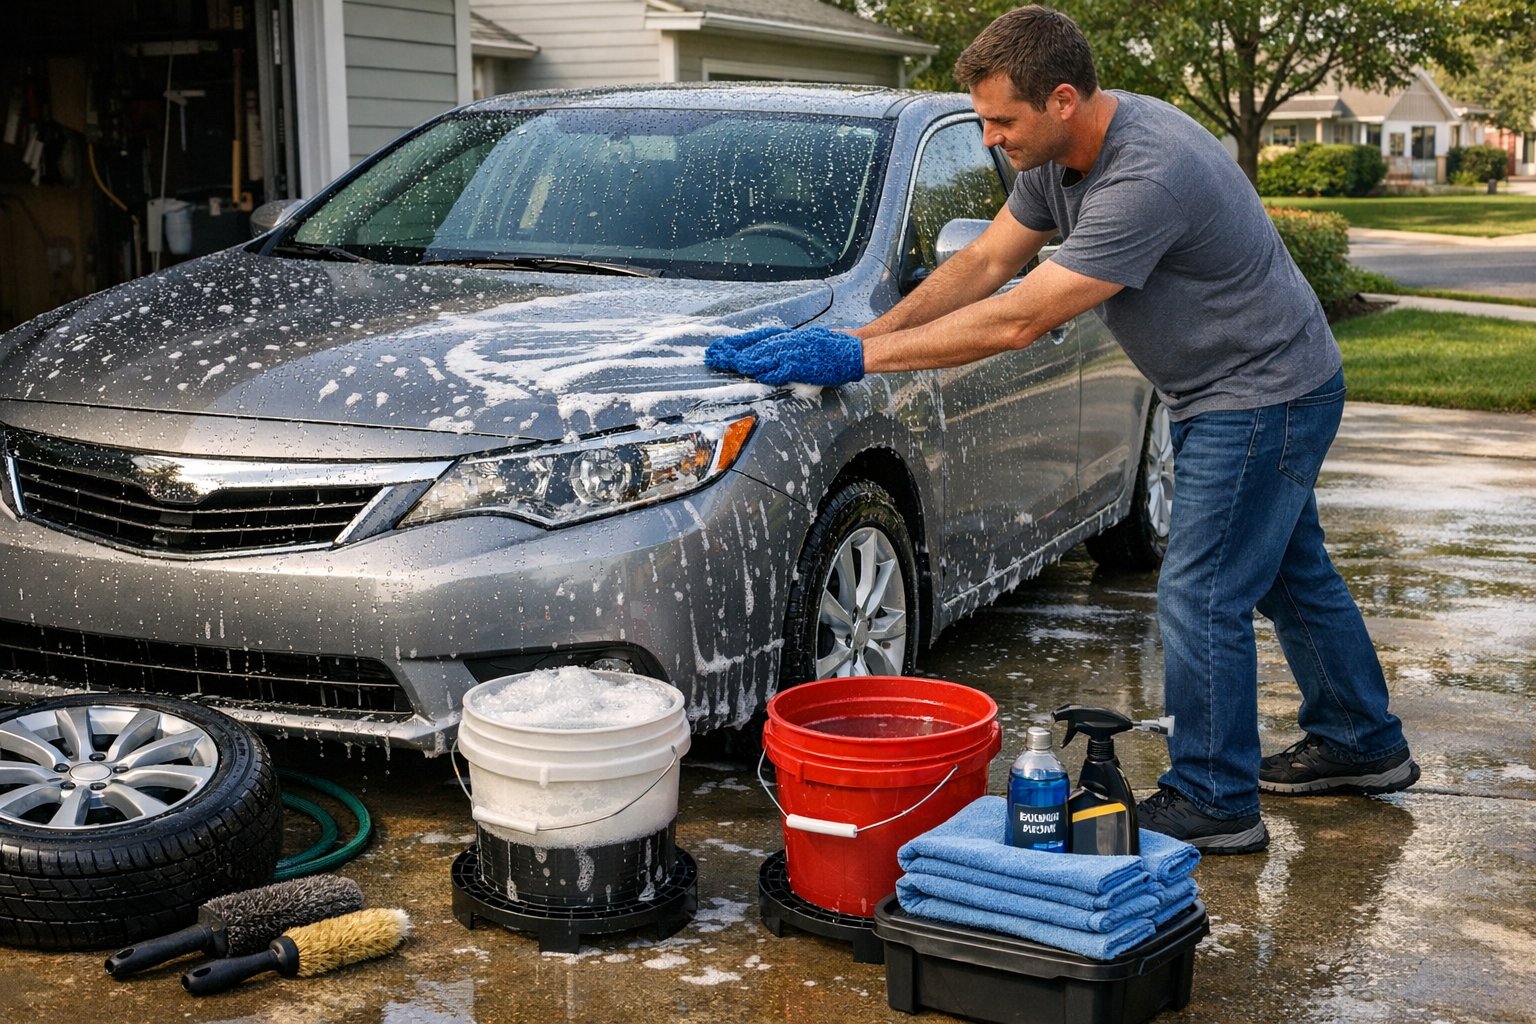
Wash The Car Body Using The Two-Bucket Method
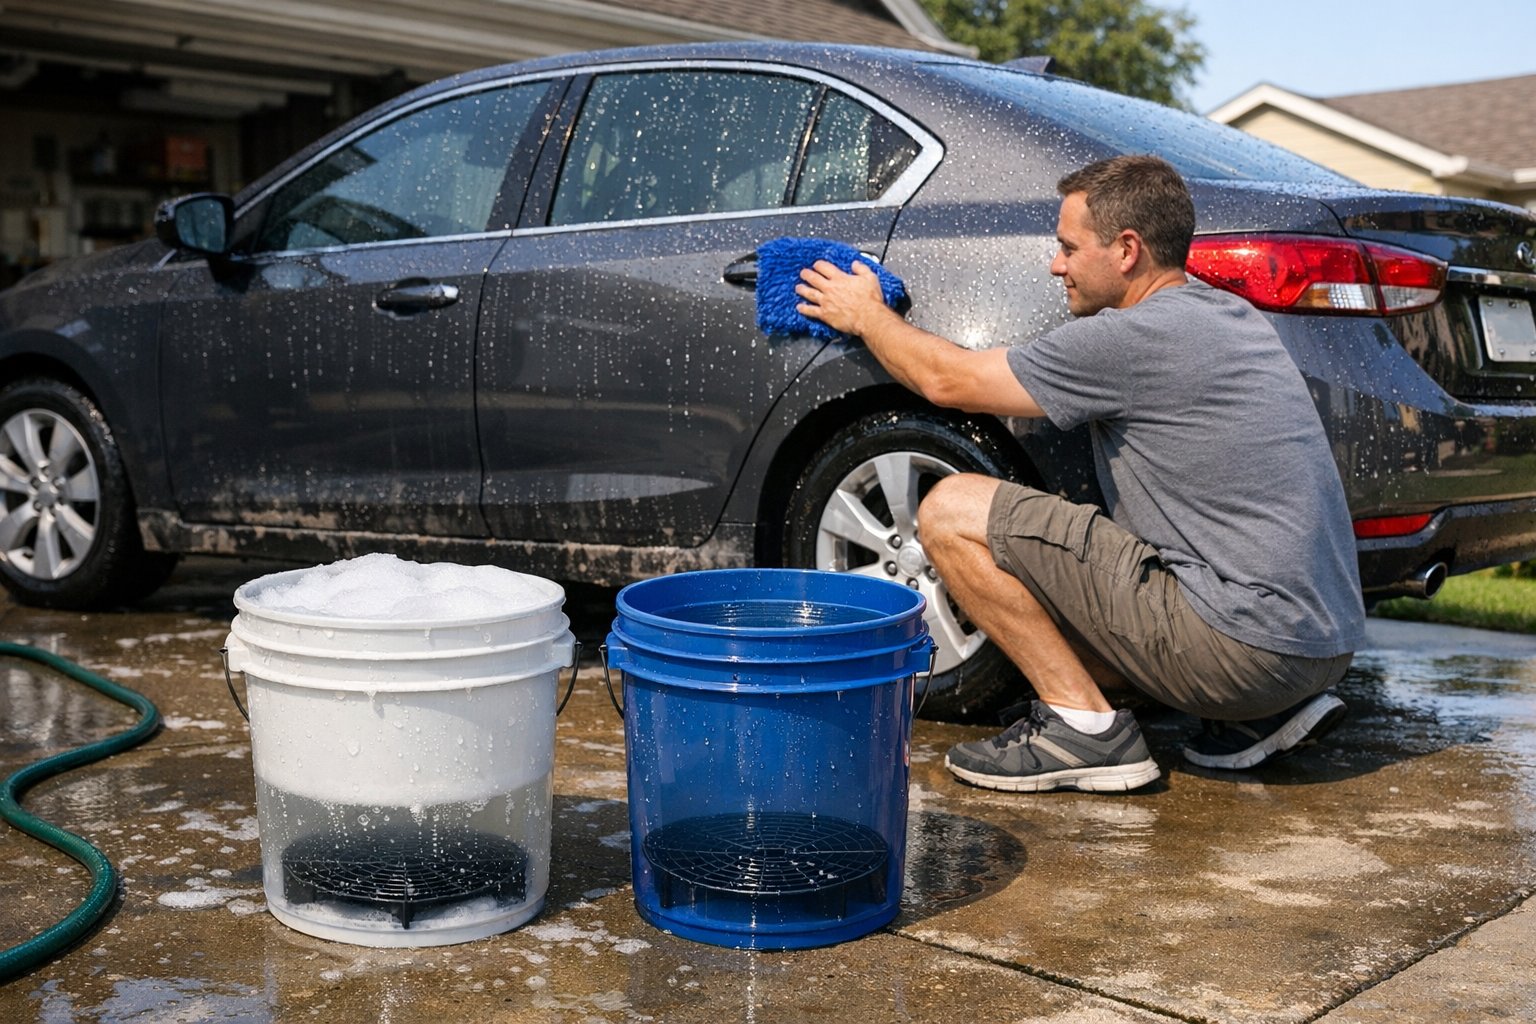
This is the core of a safe hand wash. The two-bucket method helps keep dirt off the wash mitt and away from the paint. One bucket holds clean soapy water: the other holds plain rinse water for cleaning the mitt between passes.
First, soak the microfiber mitt in the soap bucket. Wash one section at a time using straight, gentle motions rather than hard circular scrubbing. After each section, rinse the mitt in the clean-water bucket, rub it against the grit guard if available, then reload with soap.
Follow a top-down order:
- Roof
- Glass
- Hood and trunk
- Upper doors and fenders
- Lower doors and rocker panels last
The lower sections carry the most abrasive dirt, so they should be cleaned at the end.
If needed, use a second mitt for especially dirty lower panels. And if the soap starts drying, rinse sooner. Safe car washing is less about speed and more about controlling where dirt goes at every step.
Rinse Thoroughly And Dry Without Leaving Water Spots
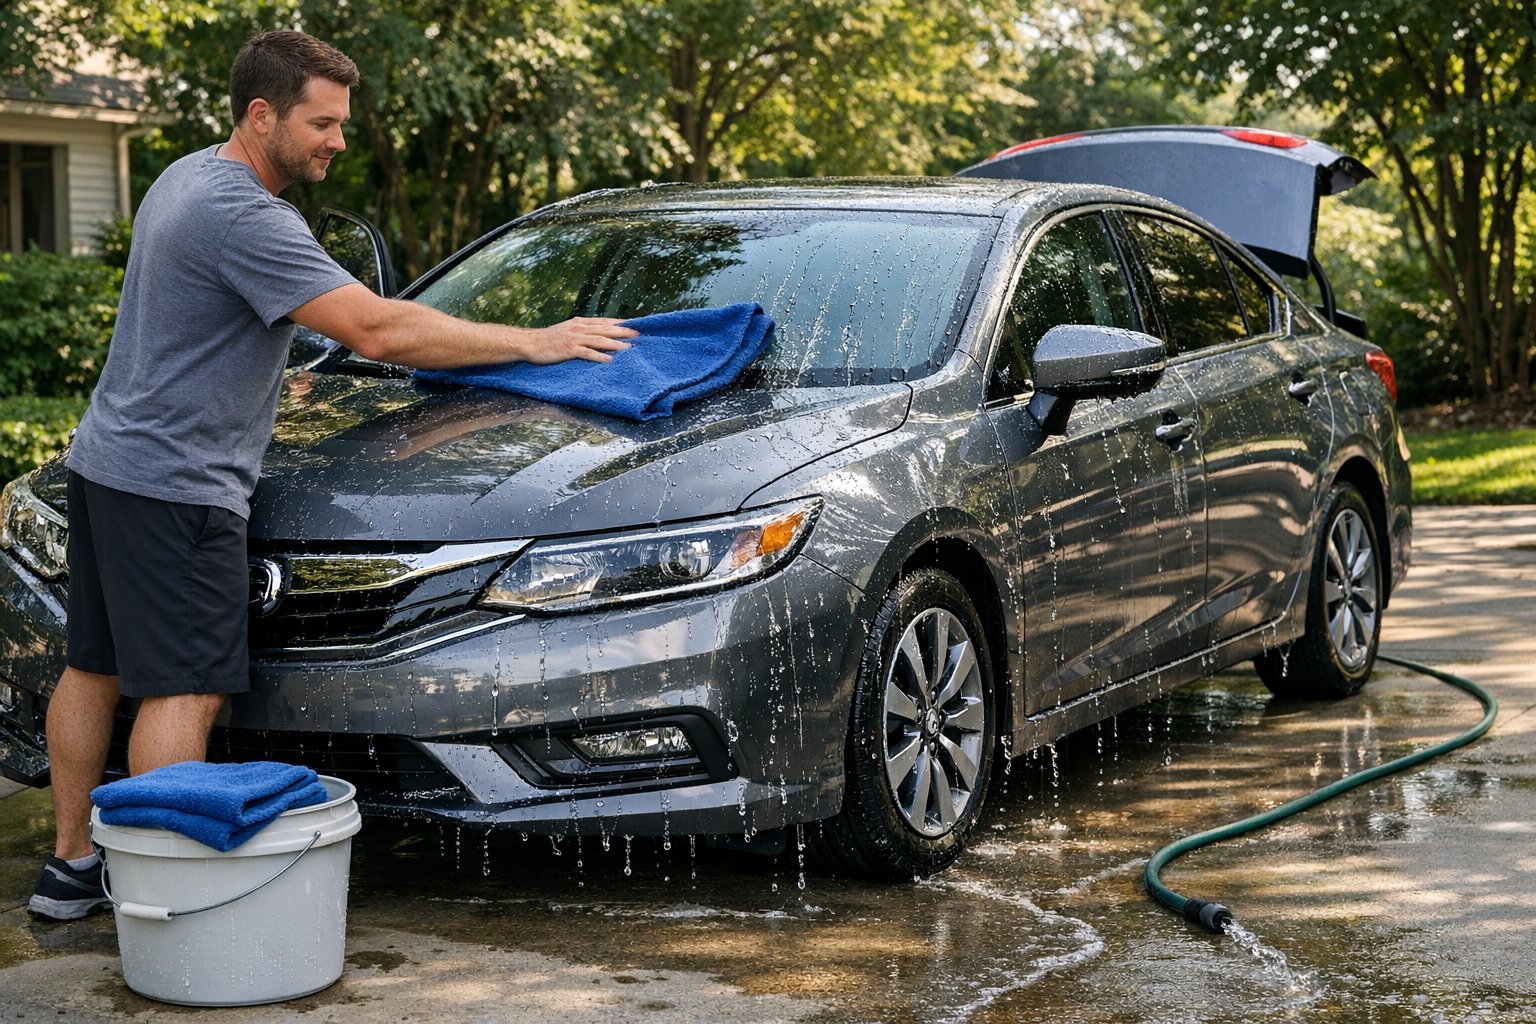
Once the washing is done, we need to remove all soap completely. Leftover soap film can dull the finish, while hard-water minerals can leave spots if the car air-dries.
Rinse the vehicle thoroughly from top to bottom, checking mirrors, emblems, trim edges, and panel gaps where suds like to hide. A gentle stream of water can also help sheet water off the paint, leaving less to dry by hand.
For drying, use a clean microfiber drying towel or a dedicated car blower. Patting and dragging lightly is safer than pressing hard. We should start with glass and upper panels, then move lower.
To reduce water spots:
- Dry immediately after rinsing
- Work in shade
- Use multiple dry towels if one becomes saturated
- Open doors, trunk, and fuel flap briefly to catch trapped drips
A quick final walk-around saves us from those annoying drip trails that show up after the car is parked.
Finish With Glass, Trim, And Paint Protection
The wash may be done, but the finishing steps are what make the car look crisp and stay cleaner longer. Once the paint is dry, we can clean exterior glass with an automotive glass cleaner and a separate microfiber towel for a streak-free finish.
Next, wipe down trim if needed and apply a light protectant made for plastics or rubber. This helps restore an even appearance and can reduce fading over time.
For paint protection, a simple spray wax or sealant is an easy choice for most at-home washes. It adds gloss, improves water beading, and gives the surface some defense against contamination.
A practical finishing checklist:
- Clean exterior windows and mirrors
- Dress trim lightly, not excessively
- Apply spray protection panel by panel
- Buff with a fresh microfiber towel
Even a quick protective layer can make the next wash easier and help maintain the finish between deeper detailing sessions.
Avoid Common Car Washing Mistakes And Build A Simple Maintenance Routine
A safe wash routine is really about consistency. Most paint damage happens through small repeated mistakes, not one dramatic event. If we avoid the common errors, the car stays cleaner and the finish lasts longer.
Mistakes to avoid:
- Washing in direct sunlight
- Using dish soap or harsh cleaners
- Reusing dirty towels or mitts
- Cleaning wheels and paint with the same tools
- Letting the car air-dry
- Scrubbing stubborn dirt aggressively
Instead, we can build a simple routine: wash every two to four weeks, rinse off bird droppings and bug residue quickly, and refresh protection regularly.
For anyone serious about maintenance, keeping supplies organized and following the same order every time is the real shortcut. Good process beats rushing.
A well-maintained vehicle not only looks better but is also easier to care for over time. That’s the payoff of learning how to wash a car step by step and doing it properly.
Car Washing FAQs: Step-by-Step Guide
What are the essential supplies needed to wash a car properly at home?
You need two buckets with grit guards, pH-balanced car wash soap, microfiber wash mitt, wheel and tire brushes, microfiber drying towels or car dryer, automotive glass cleaner, detail spray or spray wax, and a hose with a gentle spray nozzle.
Why should I use the two-bucket method when washing my car?
The two-bucket method helps prevent scratching by keeping dirt and grit separated. One bucket holds soapy water for washing, while the other holds clean water to rinse your mitt, reducing the chance of rubbing debris into the paint.
How do I avoid water spots when drying my car after washing?
Dry your car immediately after rinsing using clean microfiber towels or a car blower, work in the shade, use multiple towels if needed, and open doors, trunk, and fuel flap briefly to catch trapped drips that cause spots.
Can I wash my car using household dish soap?
No, household dish soap should be avoided as it strips away protective wax and oils, potentially damaging your car’s paint finish. Use a pH-balanced car wash soap instead for safe cleaning.
What is the best order to wash different parts of the car?
Start by rinsing the roof and glass, then move downward over the hood, doors, and trunk, cleaning wheels and tires first with separate tools. Wash the car body top-down, finishing with lower door panels and rocker panels to avoid redepositing dirt.
How often should I wash my car to maintain its finish?
Washing your car every two to four weeks helps maintain the finish and prevents buildup of contaminants. Promptly rinse off bird droppings and insects, and regularly refresh paint protection with wax or sealant for best results.
Leave a Reply